How to use BodySealer
Watch our BodySealer Demo Video or read below on how to use our product. |
- BodySealer is extremely easy to use and setup is very fast. All you need is a body sealer pouch, a heat sealer, clips and access to 110 V electrical outlet.
- Plug in the heat sealer and turn the temperature setting to the hottest position. Allow about 5 minutes to reach the desired temperature. You can test the sealer to see if it has reached its desired temperature by trying to crimp a scrap piece of product.
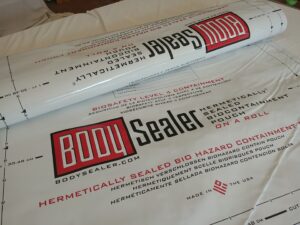
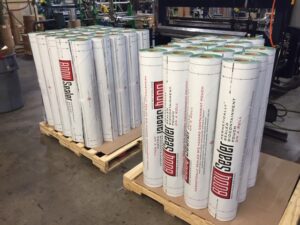
- Unroll the BodySealer pouch from the roll as much or as little as you need. Cut the pouch to your desired length so that you have about 10 inches extra on both the head and foot of the body.
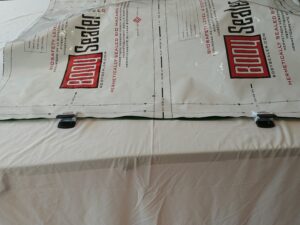
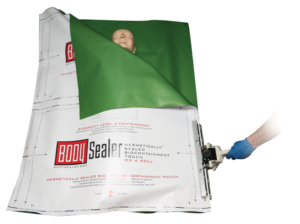
- Unfold the pouch and position the body in the center. Remember, BodySealer comes sealed on one side. Then fold the other half of the pouch over the body, aligning all outer edges. Use the included clamps to hold the edges together.
 |
 |
 |
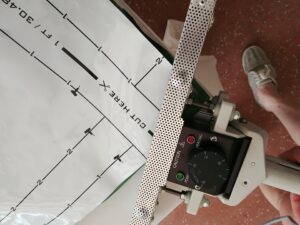 |
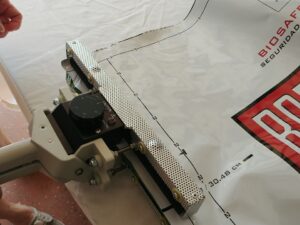
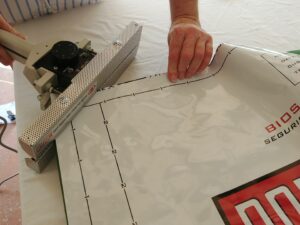
- Locate the line with the heat sealer emblem and the #1 around the edge of the BodySealer. Slide the crimper onto the pouch on the line starting from the folded sealed edge. Squeeze the handles of the crimper tightly together and slowly count to 5. Release the handles, then move to the next position overlapping the previous crimp by one inch. Continue to heat-seal the BodySealer until you reach the other corner, occasionally squeezing the excess air out of the pouch. Move the clamps as you continue to seal the pouch. It is important to keep the edges together. You can do an additional diagonal heat crimp at each of the corners if desired.
- There is a second line parallel to the first line printed around the edge of the pouch. In the event you must open the BodySealer or you feel a double seal is necessary, follow the above instructions along the second line.
- We recommended you practice on a small piece of BodySealer the first time using the product.all or email us.
If you have any questions, please don’t hesitate to either call us at 516-665-8323 or email us
 |
 |
 |
 |
